Capture Protocol

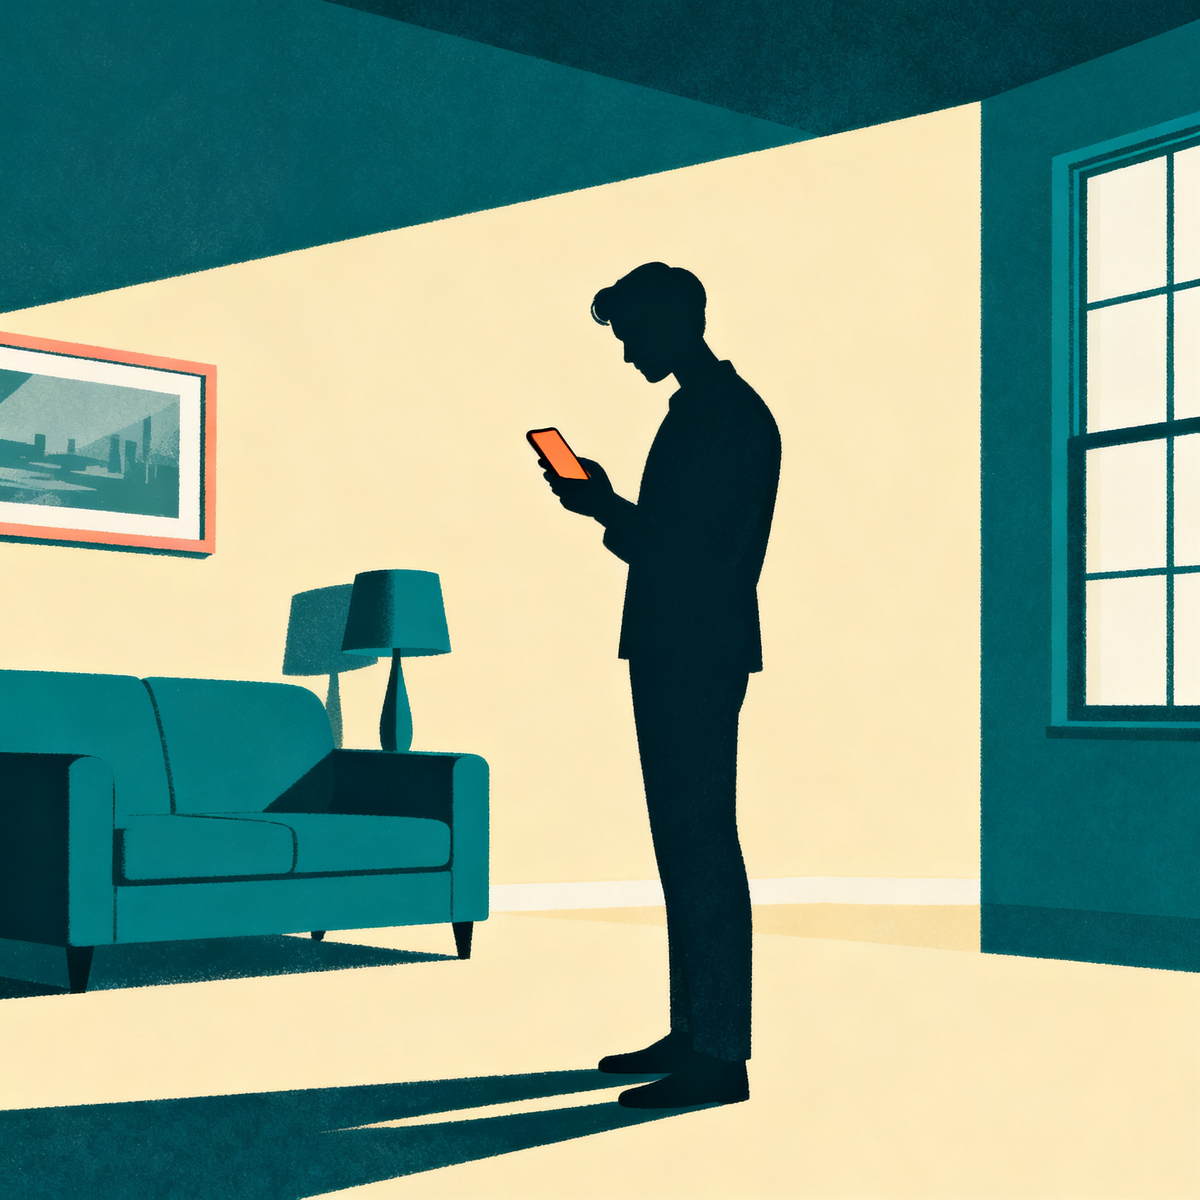
How to capture for your TourReady tour.

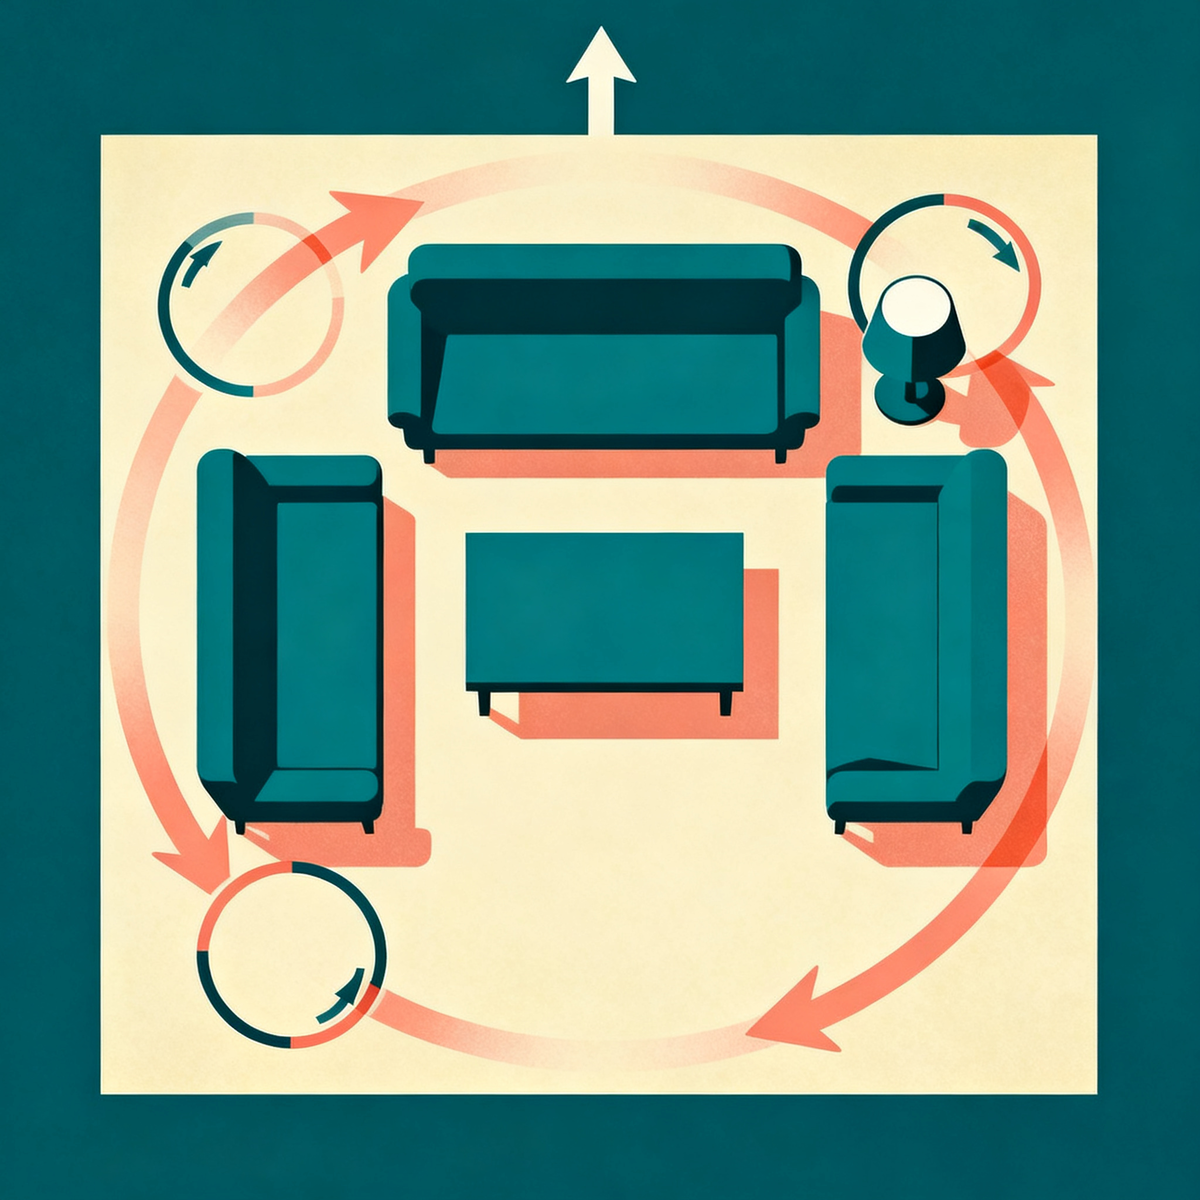
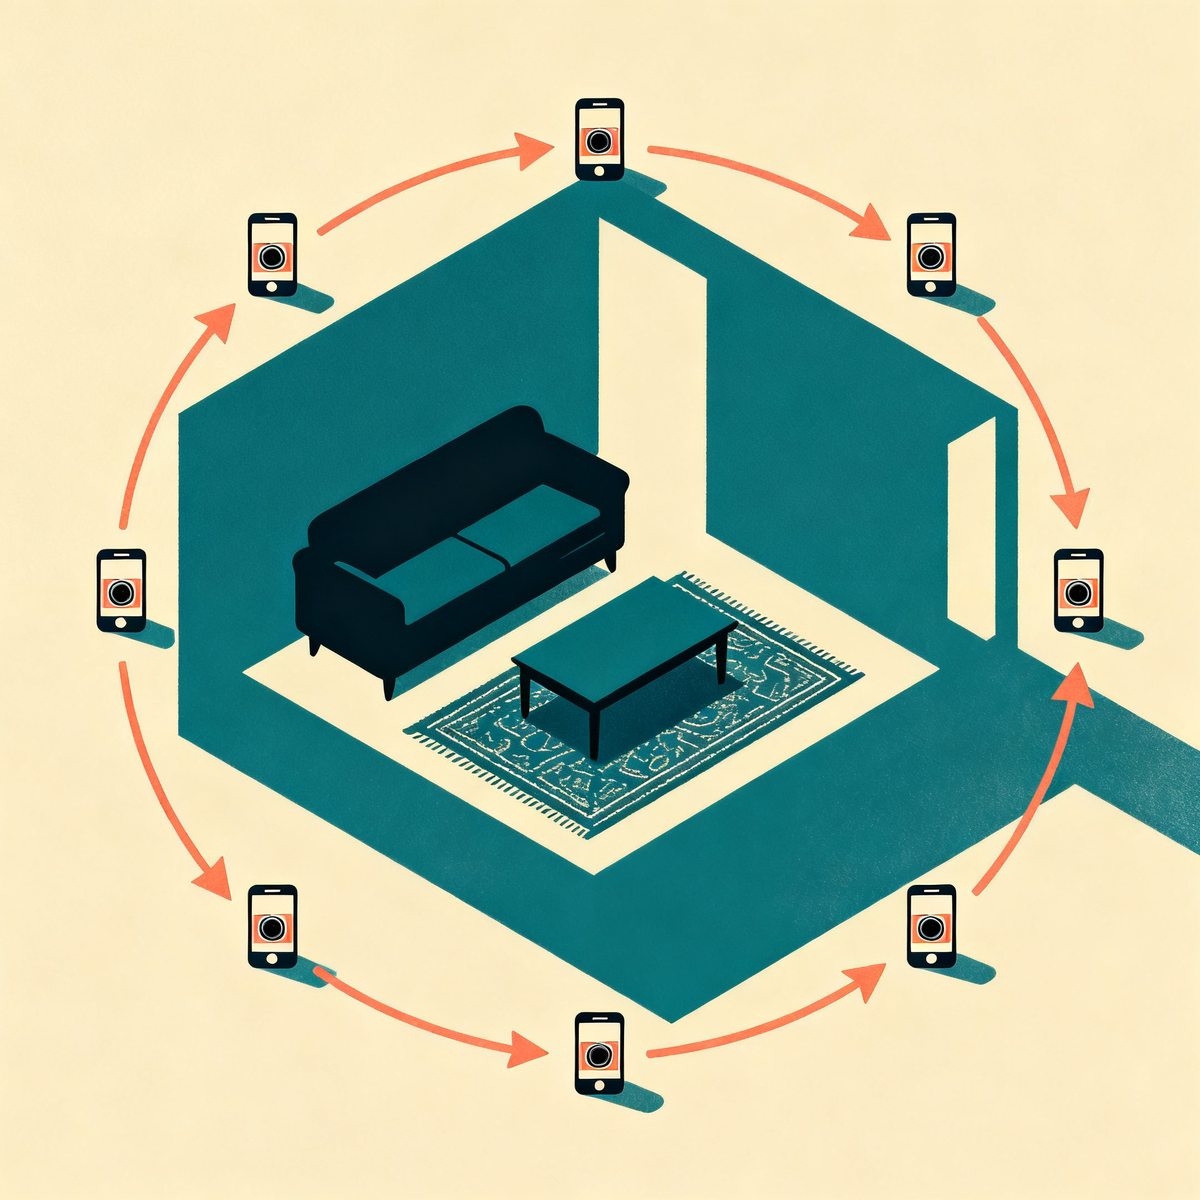
Two paths — video (recommended) or photo ZIP. Both work on any modern phone. The video flow is faster and more forgiving; the photo flow exists for spaces where filming isn't practical.

Most failed tours fail in capture, not reconstruction. The protocol below is what we tested across hundreds of rooms — follow it and the render works on the first try.

A person standing in the middle of a room holding a smartphone at chest height, slightly angled down — the correct capture stance.

0.5×

Zoom on every shot

~2 min

Total capture time

60s

Video per 300 sq ft · or 20+ photo ZIP

Recommended for almost every space

Path A — Video capture.

The fastest, most forgiving path. One continuous video of a multi-pass walkthrough is what produces the cleanest renders. Works for rooms of any size.

For spaces where filming isn't practical

Path B — Photo ZIP capture.

Use the photo path when you can't shoot continuous video — narrow spaces, multiple disconnected rooms you want bundled, or pre-existing photo libraries. Package 20+ wide shots into a single ZIP and upload.

Photo Mode

20+ wide shots from positions around the room, packaged into a single ZIP.

Set your phone to 0.5× zoom (ultrawide) so floor and ceiling are both in frame. Stand in the center of the room, then walk a slow clockwise circle around the perimeter, taking one wide shot every 4-5 feet. Aim for 20+ photos per room. Hold the phone at chest height, angled slightly down so the floor is visible. Package all of them into a ZIP file and upload that single ZIP.

Top-down view of a living room with six phone-camera positions arranged in a clockwise circle around the perimeter, with arrows showing the rotation direction.

Photo mode — 6 to 8 wide shots around the room in a clockwise circle.

  1. Open the camera and toggle to 0.5× (the ultrawide lens). On iPhone this is the leftmost option above the shutter. On Android it's usually labeled "0.5×" or "Wide."
  2. Stand in the middle of the room. Hold the phone at chest height, angled slightly down. The bottom of the frame should include some floor; the top should include some ceiling.
  3. Take one wide shot. Then take 1-2 large sideways steps and take another from a slightly different angle. Move around the perimeter in a clockwise circle.
  4. 20+ photos minimum. The renderer needs density to reconstruct cleanly — more angles eliminate ghost spots in corners. Large rooms: 30-50 shots. Keep the camera level — don't tilt up or down between shots.
  5. Zip them, upload the ZIP. On iPhone: select all → Share → Compress. On Android: select all → menu → Compress. The render combines the angles into one walkable scene.

Do

  • 0.5× ultrawide every shot — no zoom, no portrait mode
  • Daylight + overhead lights on
  • Camera level, chest height, angled slightly down
  • Slow circle around the perimeter
  • Clear the room of people, pets, and recent clutter

Don't

  • Don't shoot in 1× or zoomed-in — the model can't see the ceiling
  • Don't use Portrait Mode — the blur breaks reconstruction
  • Don't shoot all 6 photos from the same spot
  • Don't move the furniture between shots
  • Don't include people, mirrors at angles that reflect you, or screens displaying private info

Why the 0.5× zoom matters more than anything else.

The single biggest reason tours fail is that the input shots were taken at standard 1× zoom. At 1× you typically capture about half the room from any given angle — usually missing either the ceiling or the floor. The model literally can't reconstruct surfaces it never saw. When the ceiling is missing, the rendered walkable tour has a hole in the top that the viewer sees the moment they look up.

0.5× ultrawide captures floor and ceiling in the same frame. That single capture rule does more for output quality than any other change to the protocol.

Picking your path

Photo or video — which fits your space?

Both produce great tours. The choice is about your room size and how much capture time you have.

Pick video capture if: you have a phone and 90 seconds. This is the default and the path we recommend for almost every space. The multi-pass walkthrough is what produces the cleanest renders. Restaurants, salons, fitness studios, medspas, and any business where the buyer expects to see the full flow — video wins.

Pick photo ZIP if: filming isn't practical — the space is too narrow to walk, you're capturing a series of disconnected rooms you want bundled, or you already have a strong photo library you'd rather use than re-shoot. Package 20+ wide shots into a ZIP and upload.

For multi-room businesses (medspa with 3 treatment rooms, dental practice with 4 operatories), one continuous video of the full walkthrough is the better customer experience — the prospect sees how the rooms connect. Bundle multiple rooms into a single capture.

Ready to capture

One video. Walkable in 2 minutes. $99 once. Hosted free.

$99

one-time
hosted free, forever

Start my tour — $99 →

$99 · Tour delivered in minutes · Free redo + 14-day refund.

  • ~2-minute render
  • Live tour link
  • Embed snippet
  • 4-surface deployment guide